


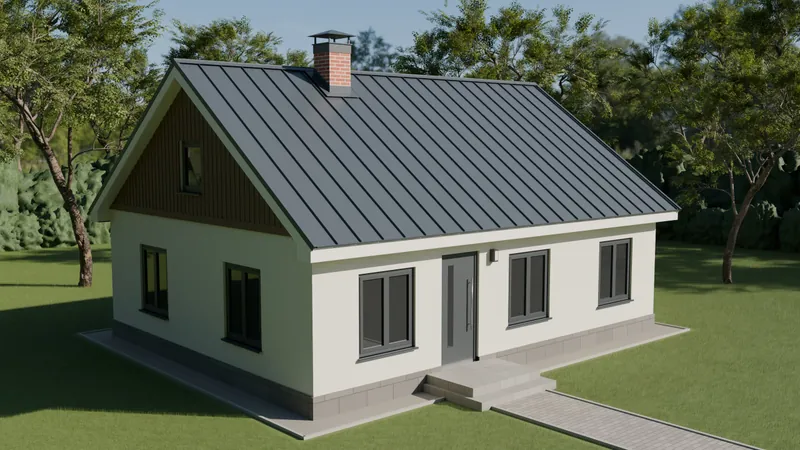
Roof ladders give safe access to the roof for maintenance, chimney sweeping and other technical work. This solution is designed for installation on metal roofs with the Classic profile.
Roof ladders are available in 1200 × 450 mm and 3000 × 450 mm sizes. If a longer length is needed, several ladder sections can be joined together.
The ladder system components are available in the colours of the TOODE RR catalogue, and in other colours to individual order.
Roof ladder installation video
The video shows how a roof ladder is installed and the correct order for installing the main components.

Ladder system

The picture shows a complete roof and wall ladder system with all its components. (Click on the picture to enlarge it!)
- 1 – Roof ladder (1200 × 450 mm or 3000 × 450 mm)
- 2 – Upper ladder hoop
- 3 – Ladder wall bracket
- 4 – Ladder wall/hoop T connector
- 5a – Ladder hoop bracket L
- 5b – Ladder hoop bracket U
- 6 – Ladder eaves bracket
- 7 – Lower ladder hoop
- 8 – Wall ladder bracket support plate
- 9 – Ladder guard
- 10 – Ladder roof bracket
- 11 – Ladder ridge bracket
- 12 – Ladder wall bracket clamp
Installing a roof ladder on a Classic roof
1. Work out the ladder length you need
To choose the right roof ladder length, measure the distance from the ridge to the eaves and subtract about 400 mm.
Then choose the most suitable standard ladder frame length. If a longer length is needed, several ladder sections can be joined together.
2. Install the Classic roof ladder bracket

The Classic roof ladder bracket is designed to be fixed to the seam of a Classic metal roof. The bracket is placed on the seam and secured with three counter plates that are tightened against the bracket with M8 screws and nuts.
This lets you fix the roof ladder without drilling the roofing and keeps it watertight.
3. Use protective seals

To protect the roofing surface from damage and prevent direct metal-to-metal contact, special protective seals are used under the bracket.
4. Fix the Classic bracket with the counter plates

After the protective seals are in place, the bracket is placed on the Classic profile seam and tightened with the counter plates, giving a stable connection.
5. Adjust the bracket to the ladder frame

Once the bracket is fixed to the roof seam, its upper part is bent around the ladder frame, as shown in the picture.
Then the bracket is tightened with an M8 × 30 screw, giving a firm connection to the ladder frame.
6. Use universal roof brackets

As the Classic bracket supports the ladder in its central part, the edges of the ladder must also be supported with universal roof brackets with a protective seal.
This spreads the load evenly and gives a stable roof ladder structure.
7. Follow the installation distances

The Classic roof ladder installation diagram shows the required distances for positioning the brackets.
- Maximum distance between brackets – 1400 mm
- Minimum distance from the end of the ladder – 100 mm
- If the ladder is longer than 6000 mm, an extra middle bracket is needed
Accessories for roof ladders
The roof ladder system can be extended with components that make it easier to move and work on the roof.
Roof ladder step for low-pitched roofs

The roof ladder step is installed on the roof ladder and gives a stable footing on low-pitched roofs. It makes a more comfortable route for maintenance and installation work.

Roof ladder platform

The roof ladder platform gives a stable area for climbing on or off and can be used where a safe standing surface is needed.

Other roof ladder solutions
Depending on the type of roofing, TOODE also offers other roof ladder fixing solutions.
Roof ladders for the tile profile and trapezoidal profile →
Roof ladders for the standing seam profile →
See all roof ladder solutions:
If you need a complete access system from the ground to the roof, see our wall ladder solutions too.
Need help choosing a roof ladder?

