
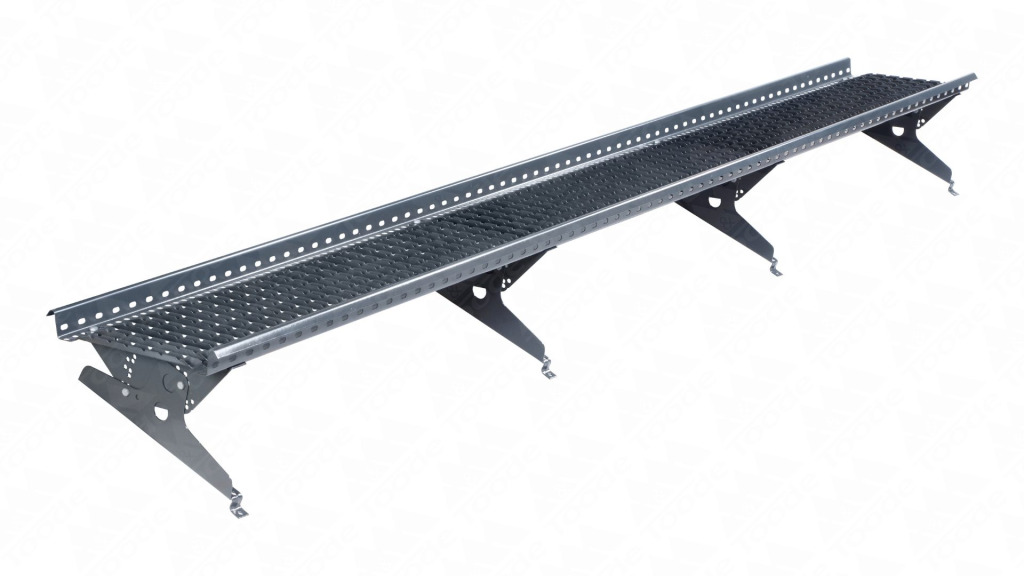
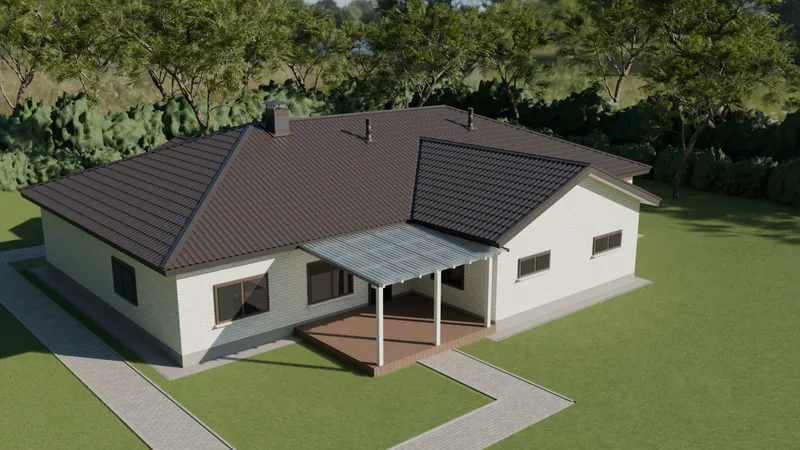
Roof walkway for tile profile roofing
Roof walkways let you move safely on the roof during maintenance and chimney sweeping. On tile profile roofs, they are fixed with a specially designed bracket system for a safe and stable installation.
Roof walkways and their components are available in the colours of the Toode RR catalogue, and in other colours to individual order. Available lengths: 3000 mm and 1200 mm.
Roof walkway installation video
The video shows how a roof walkway is installed on metal roofs.

1. Tile profile roof bracket
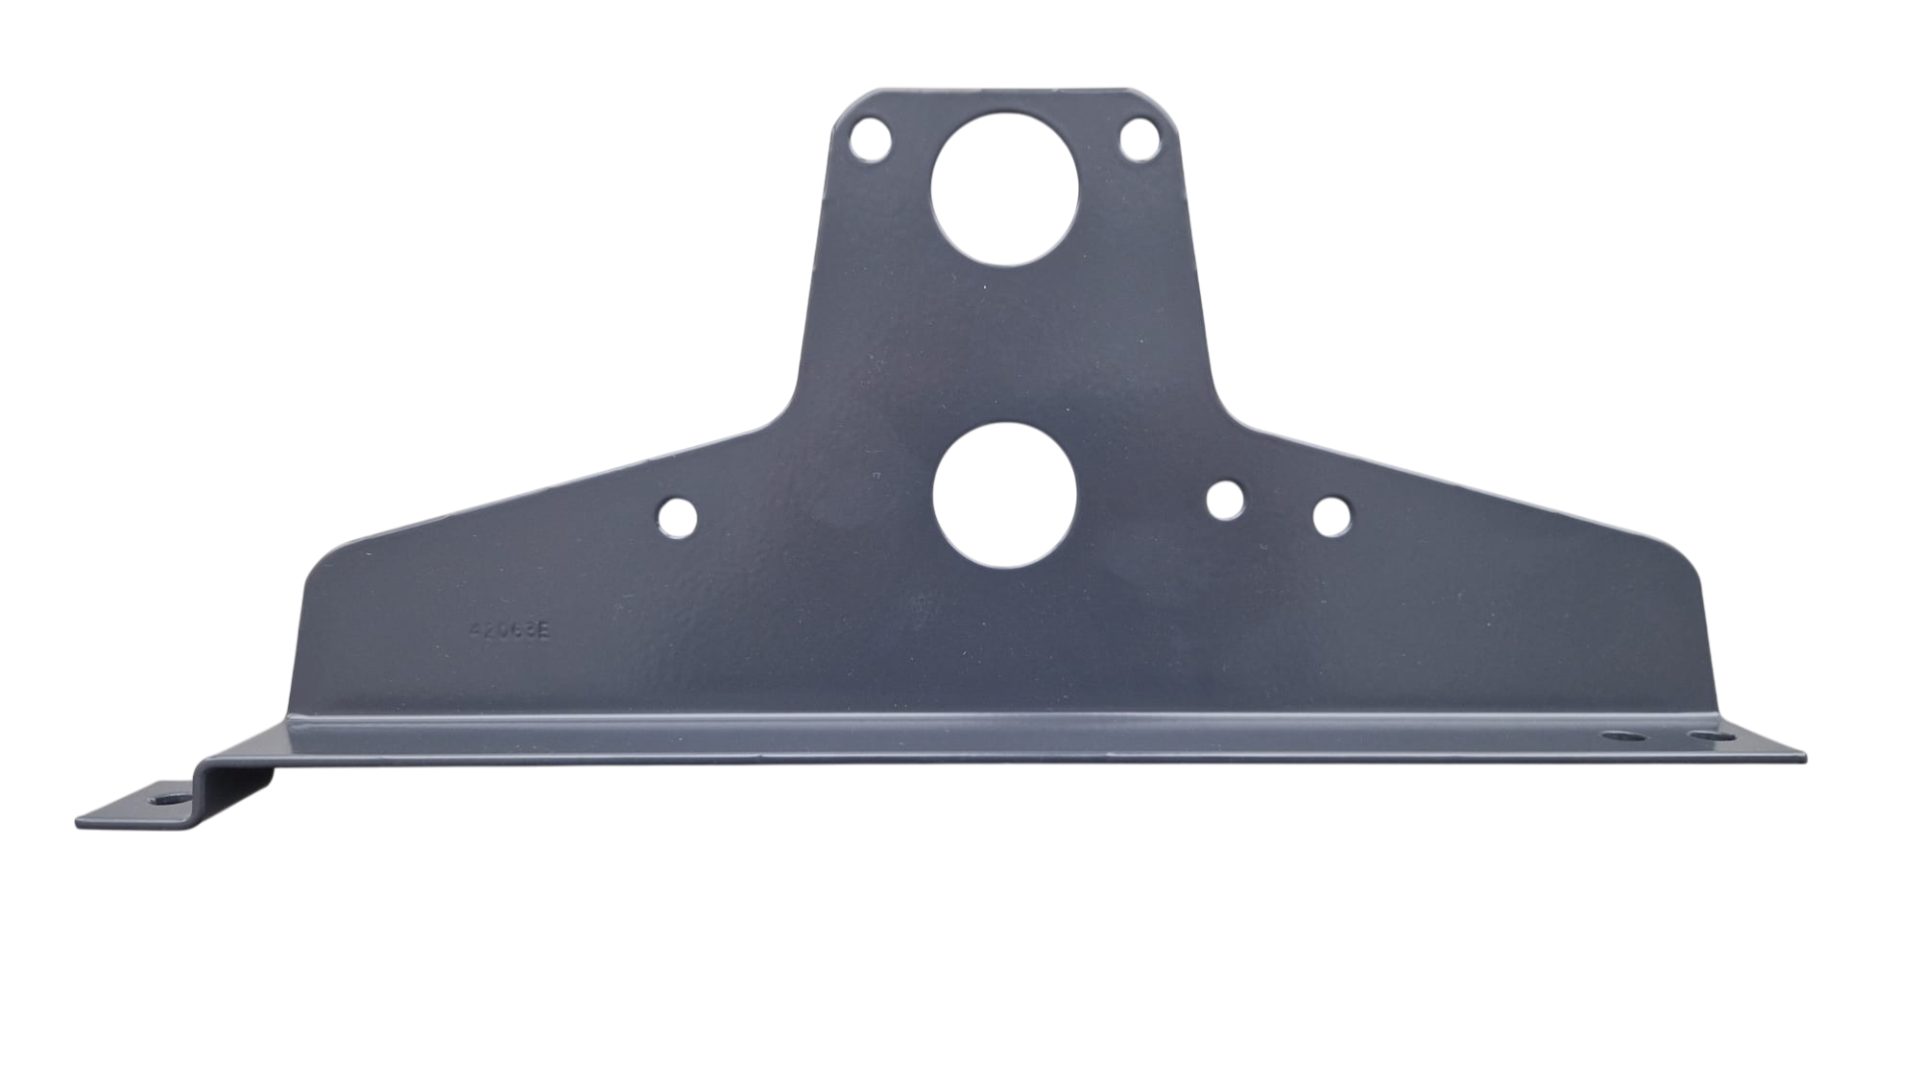
Installation starts with the tile profile bracket, which is placed in the chosen position on the roofing and acts as the base support for the roof walkway.
2. Roof walkway seals
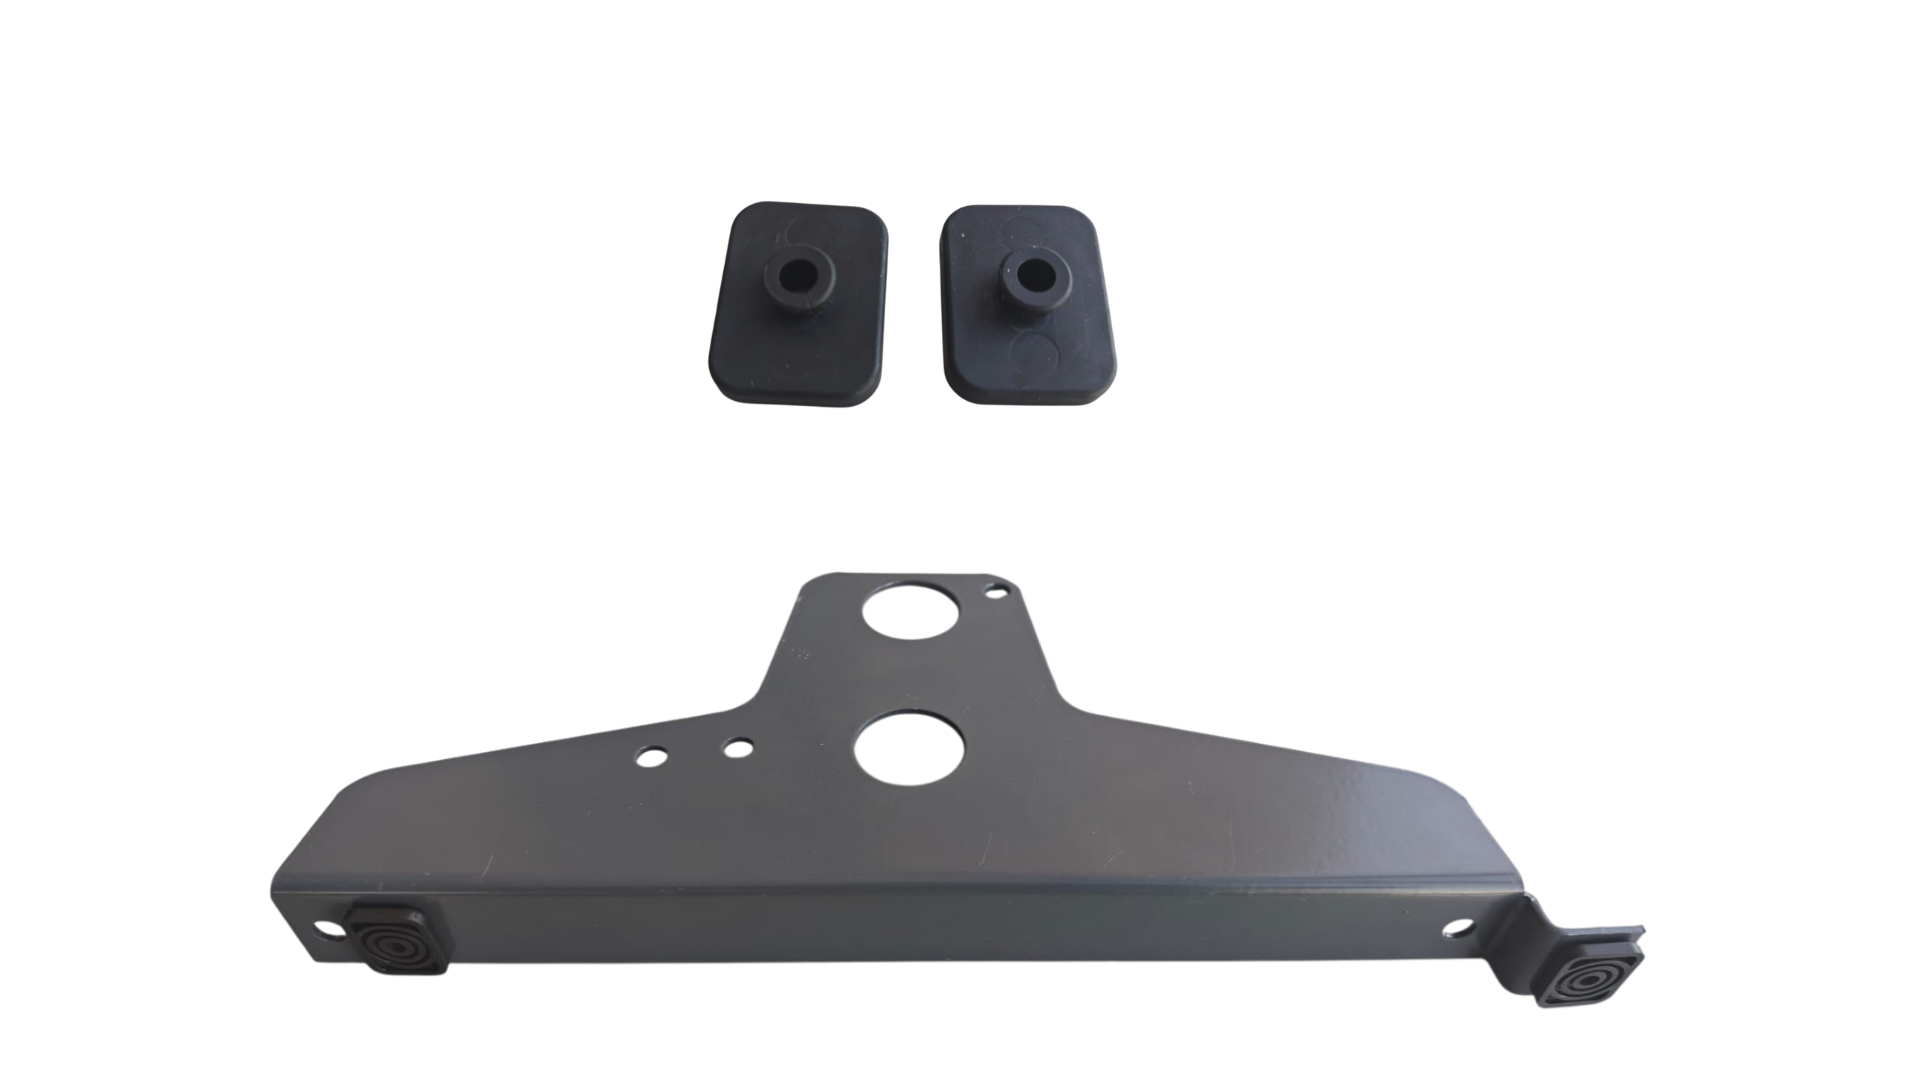
To stop the bracket touching the metal roof sheet directly and scratching its coating, special roof walkway seals must be used. They keep the joint sealed and protect the roofing from damage.
3. 6.5 x 38 mm roofing screws
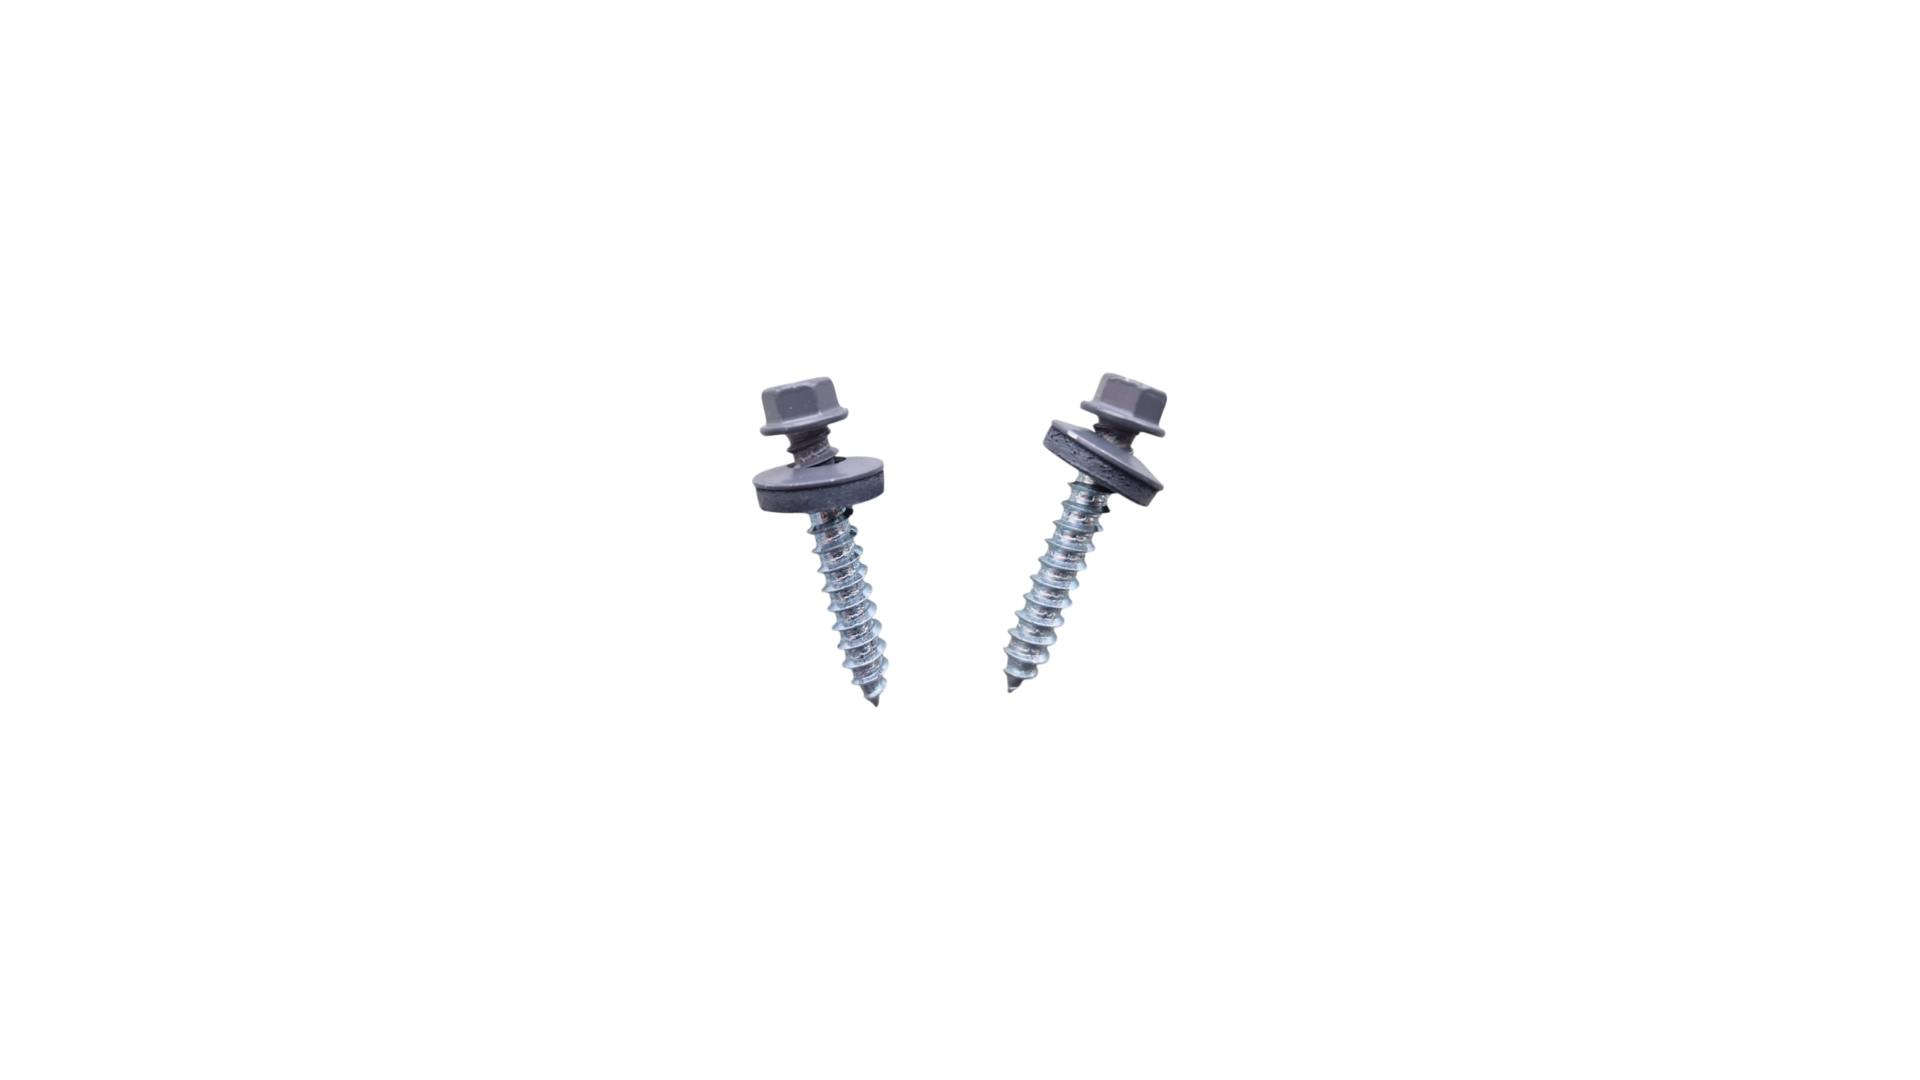
The tile profile bracket is fixed to the roof sheet with 6.5 x 38 mm roofing screws with a sealing ring, giving a secure connection to the batten structure.
4. Roof walkway bracket
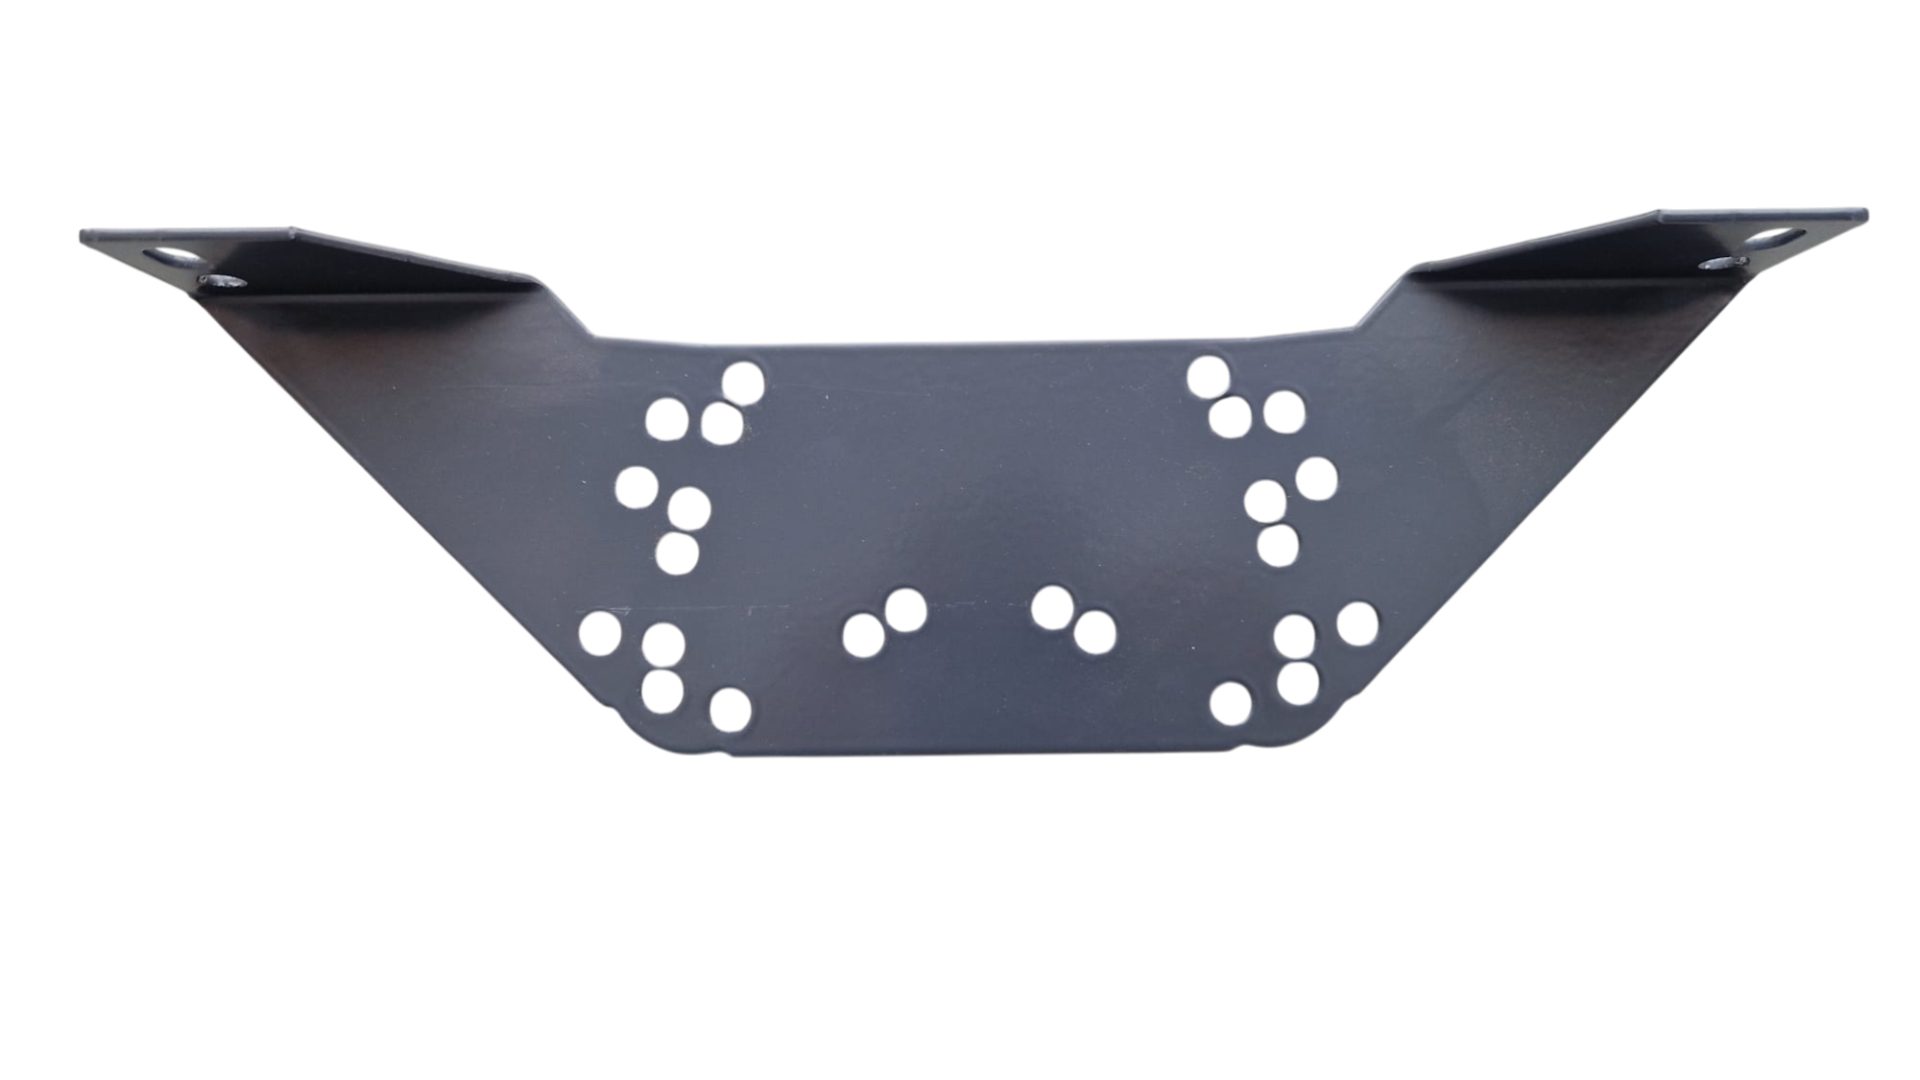
The roof walkway bracket is joined to the tile profile bracket, forming a stable, adjustable support.
5. M8 x 30 mm connecting screws

The roof walkway bracket is joined to the tile profile bracket with M8 x 30 mm screws. The same screws are later used to fix the roof walkway itself.
6. Roof walkway for the tile profile
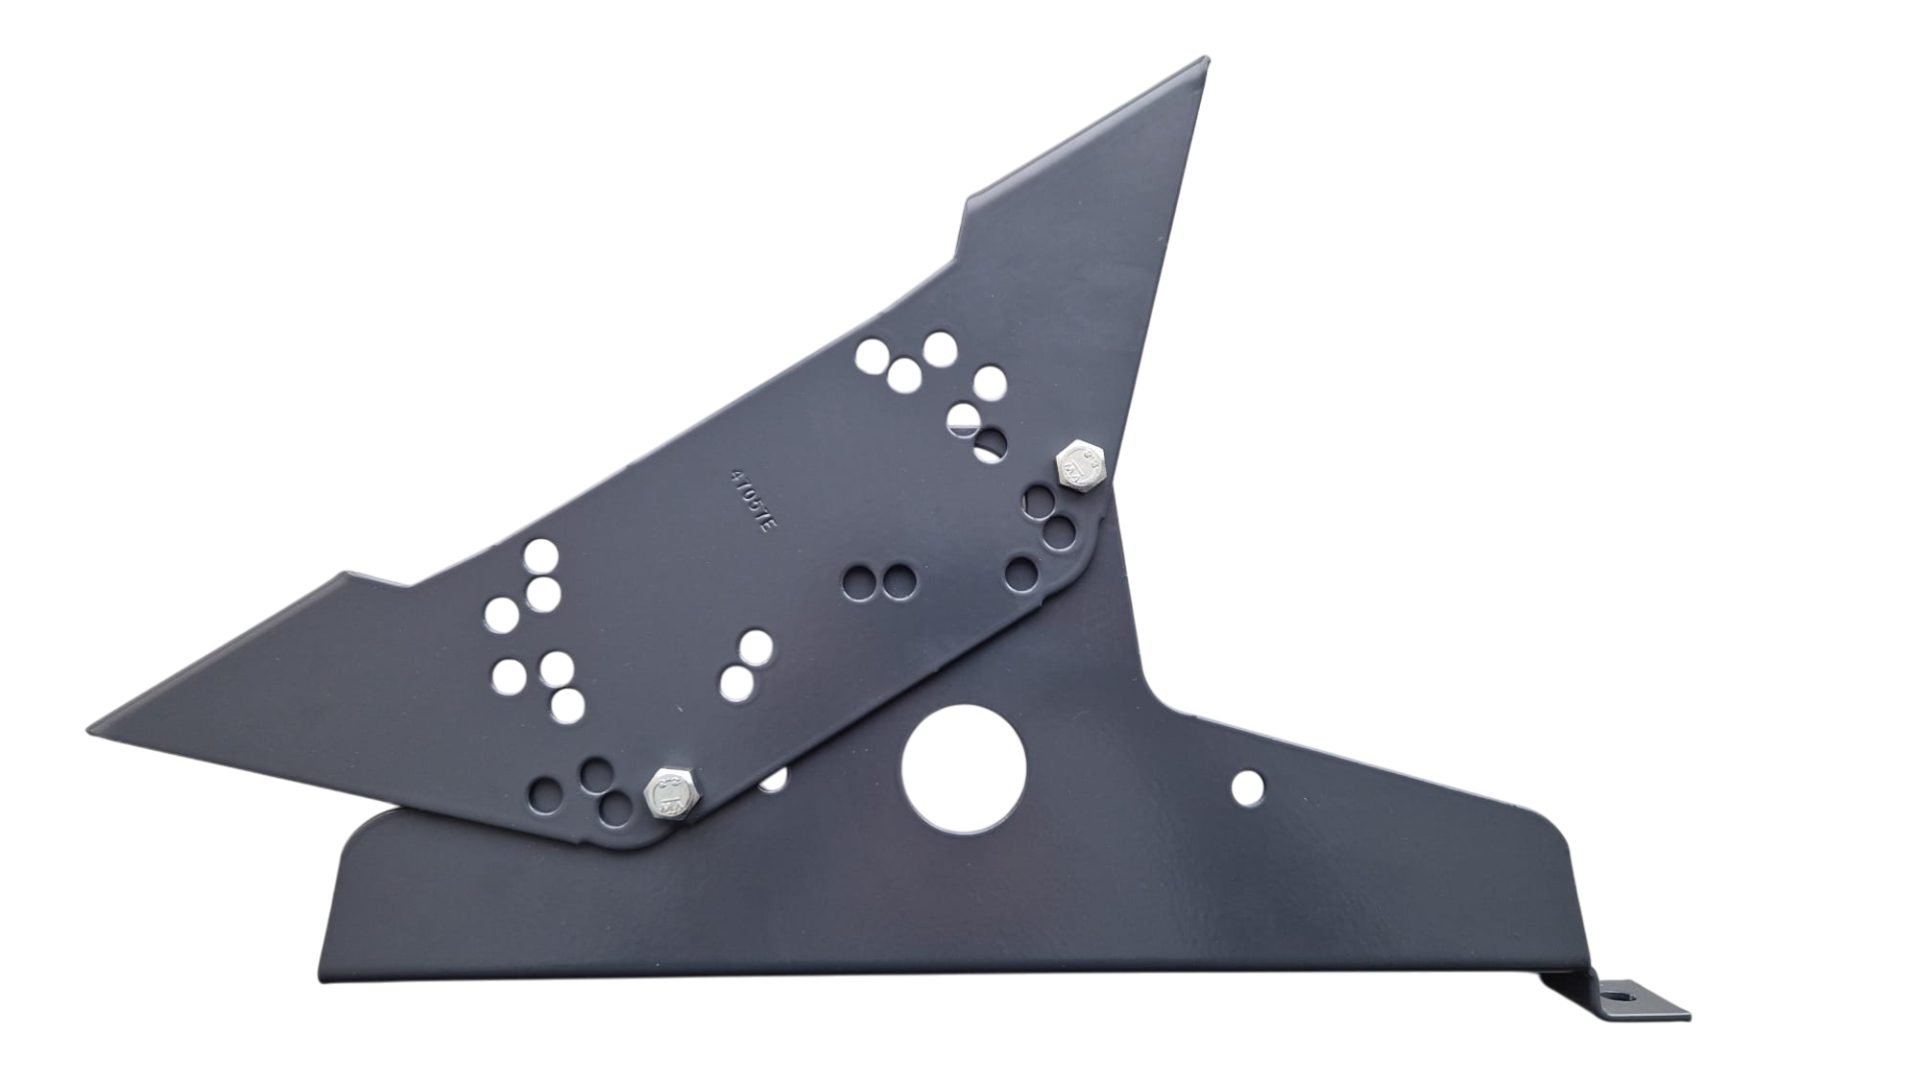
Once the bracket structure is ready, the roof walkway is screwed to it. A 3000 mm walkway needs 4 brackets, and a 1200 mm walkway 2 brackets. Thanks to the many ways the screw points can be adjusted, the angle of the walkway can be matched to the pitch of the roof.
Using the right number of brackets spreads the load evenly and lets you move safely on the roof.
Need help choosing a roof walkway for a tile profile roof?
See roof walkways for other types of roof:

