


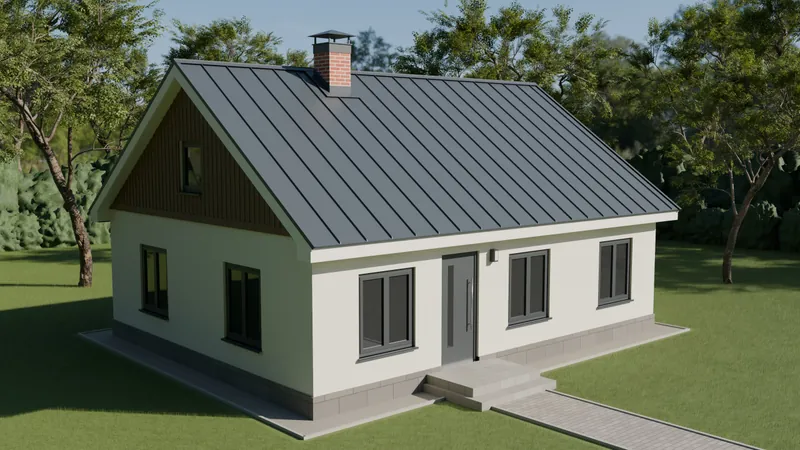
Snow guards for standing seam roofs – installation, brackets and correct fitting
Snow guards are an essential safety element for standing seam roofs – they prevent snow and ice from sliding off the roof uncontrollably.
A correctly installed snow guard system protects people, property, vehicles and roof elements from damage.
For standing seam roofs, a special bracket system is used that is fixed at the sheet seam without drilling or screwing into the profile, keeping the roofing watertight and the warranty valid.
Snow guards and their components are available in the colours of the Toode RR catalogue, and in other colours to special order.
Snow guard installation video
The video shows how the snow guard brackets and tubes are installed on metal roofs.

Standing seam snow guard bracket system
The system consists of several precisely designed components that together give a safe and durable snow guard installation.
Each component has a specific function and ensures a stable mechanical connection.
1. Snow guard bracket for the standing seam profile
This is the main fixing element, placed on the seam of the standing seam profile.
The bracket is designed to fit the seam precisely and give a stable base for the snow guard system.
It transfers the load safely to the roof structure without deforming or damaging the roofing.

2. Bracket clamp
The bracket clamp grips the standing seam and holds the bracket in place.
It spreads the mechanical load evenly and gives a stable connection without drilling the roof.
This solution keeps the roofing intact and avoids potential risks.

3. M8x30 fixing screws
The M8x30 screws join the clamp to the main bracket.
They give a precise and secure tightening of the bracket, guaranteeing long-term stability.
The high-quality material resists corrosion and environmental effects.

4. Finished snow guard bracket on a standing seam roof
At this stage all the bracket parts are joined and ready for installing the snow guards on the roof.
The bracket is installed on the seam of the standing seam profile, and the clamping plate with M8x30 screws holds it securely.
This fixing method needs no drilling and keeps the roofing watertight.
Once the bracket is installed, the snow guard tubes can be inserted into it.
We recommend 4 brackets per snow guard section (3000 mm), placed on every second seam.
When joining two snow guard sections (6000 mm), 7 brackets are needed.
This spreads the load evenly and gives maximum safety.

5. Bracket extension for an extra snow guard (if needed)
The bracket extension lets you install an extra row of snow guards, making the system more effective and safer.
This is especially important for steeper roofs or areas with higher snow loads.
The extension makes it possible to place snow guards at different heights, spreading the snow mass more effectively and reducing the load on individual fixing points.
This solution is also especially recommended when solar panels are installed on the roof. Because of the thickness of the solar panels, the snow guards must be installed higher.
With the extension, the lower snow guard can be fixed in the upper bracket hole, even without installing a third snow guard. This allows the snow load to be controlled more effectively and gives extra safety without a more complex installation.
The result is a flexible, adaptable system that suits modern roofs.

Need help choosing snow guards?
See snow guards for other types of roof:

