

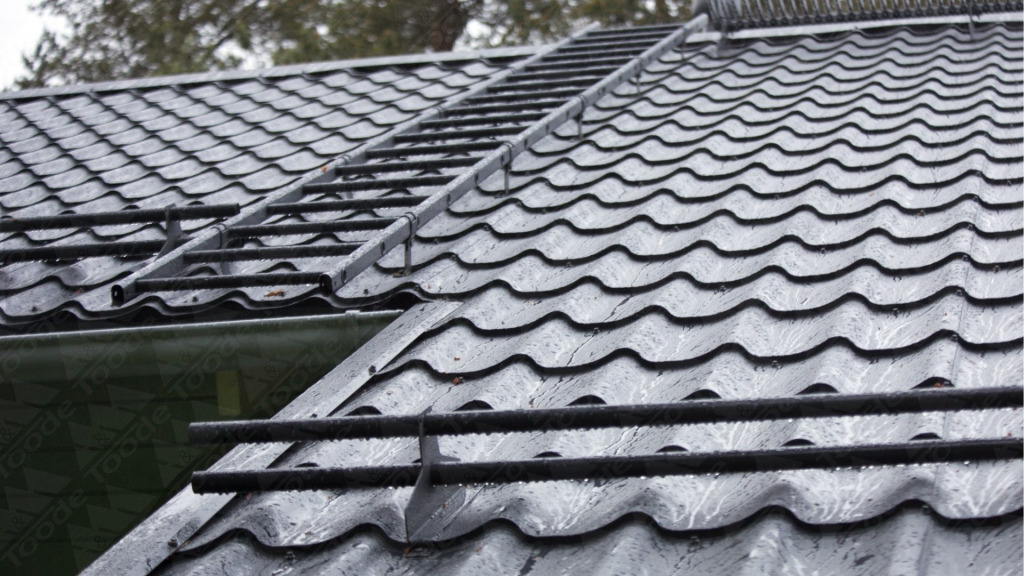

Snow guards for tile profile roofs – installation, brackets and correct fitting
Snow guards are an essential safety element for tile profile roofs – they prevent snow and ice from sliding off the roof uncontrollably.
A correctly installed snow guard system protects people, vehicles, property and roof elements from damage in winter conditions.
For the tile profile, special brackets designed for this profile are used, giving a secure connection to the roofing and spreading the snow load effectively.
Snow guards and their components are available in the colours of the Toode RR catalogue, and in other colours to individual order.
Snow guard installation video
The video shows how the snow guard brackets and tubes are installed on metal roofs.

Tile profile snow guard bracket system
The system consists of a specially designed bracket and screws that together give a safe and durable snow guard installation.
All components are designed to give a stable mechanical connection to the tile profile roofing.
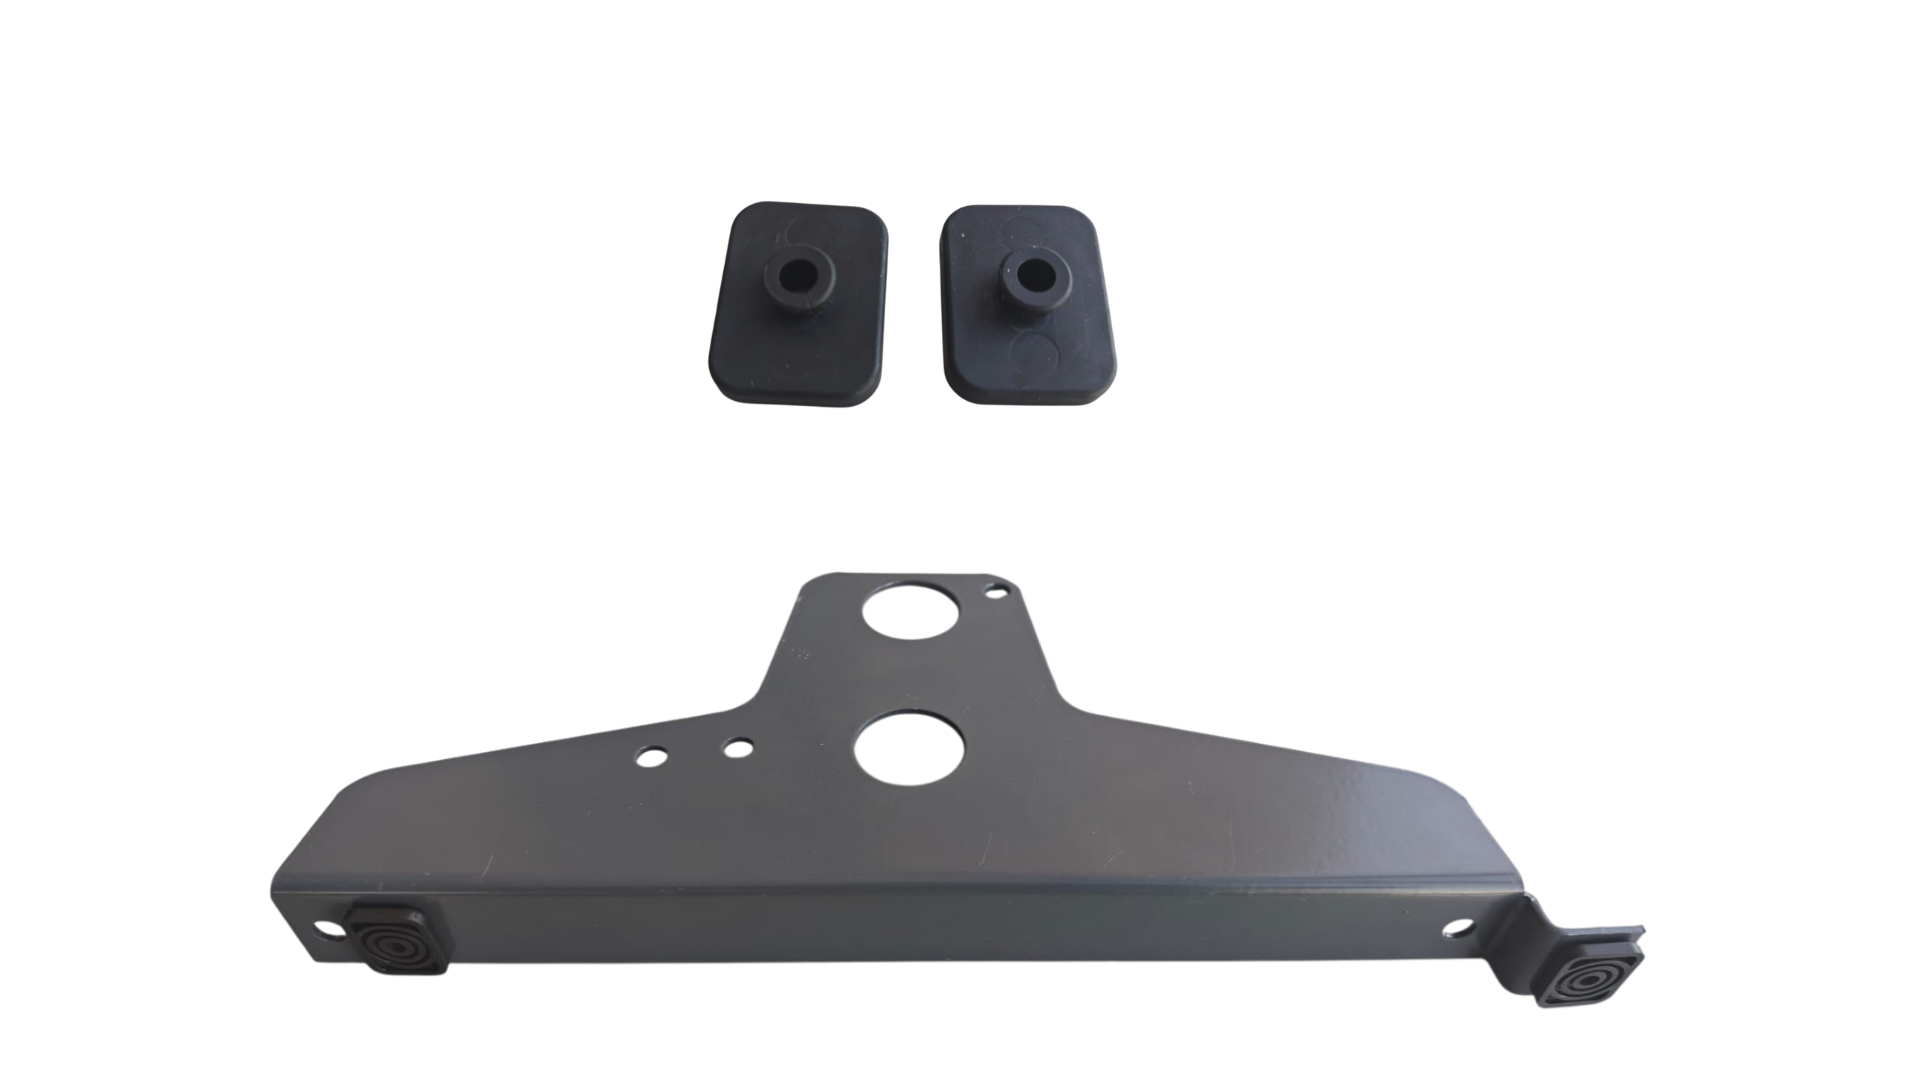
1. Snow guard bracket for the tile profile
This is the main fixing element, designed specifically for tile profile roofing.
The shape of the bracket is adapted to the geometry of the profile, giving a precise fit and a stable base for the snow guard.
It transfers the load safely to the roof structure and prevents the bracket from deforming in use.
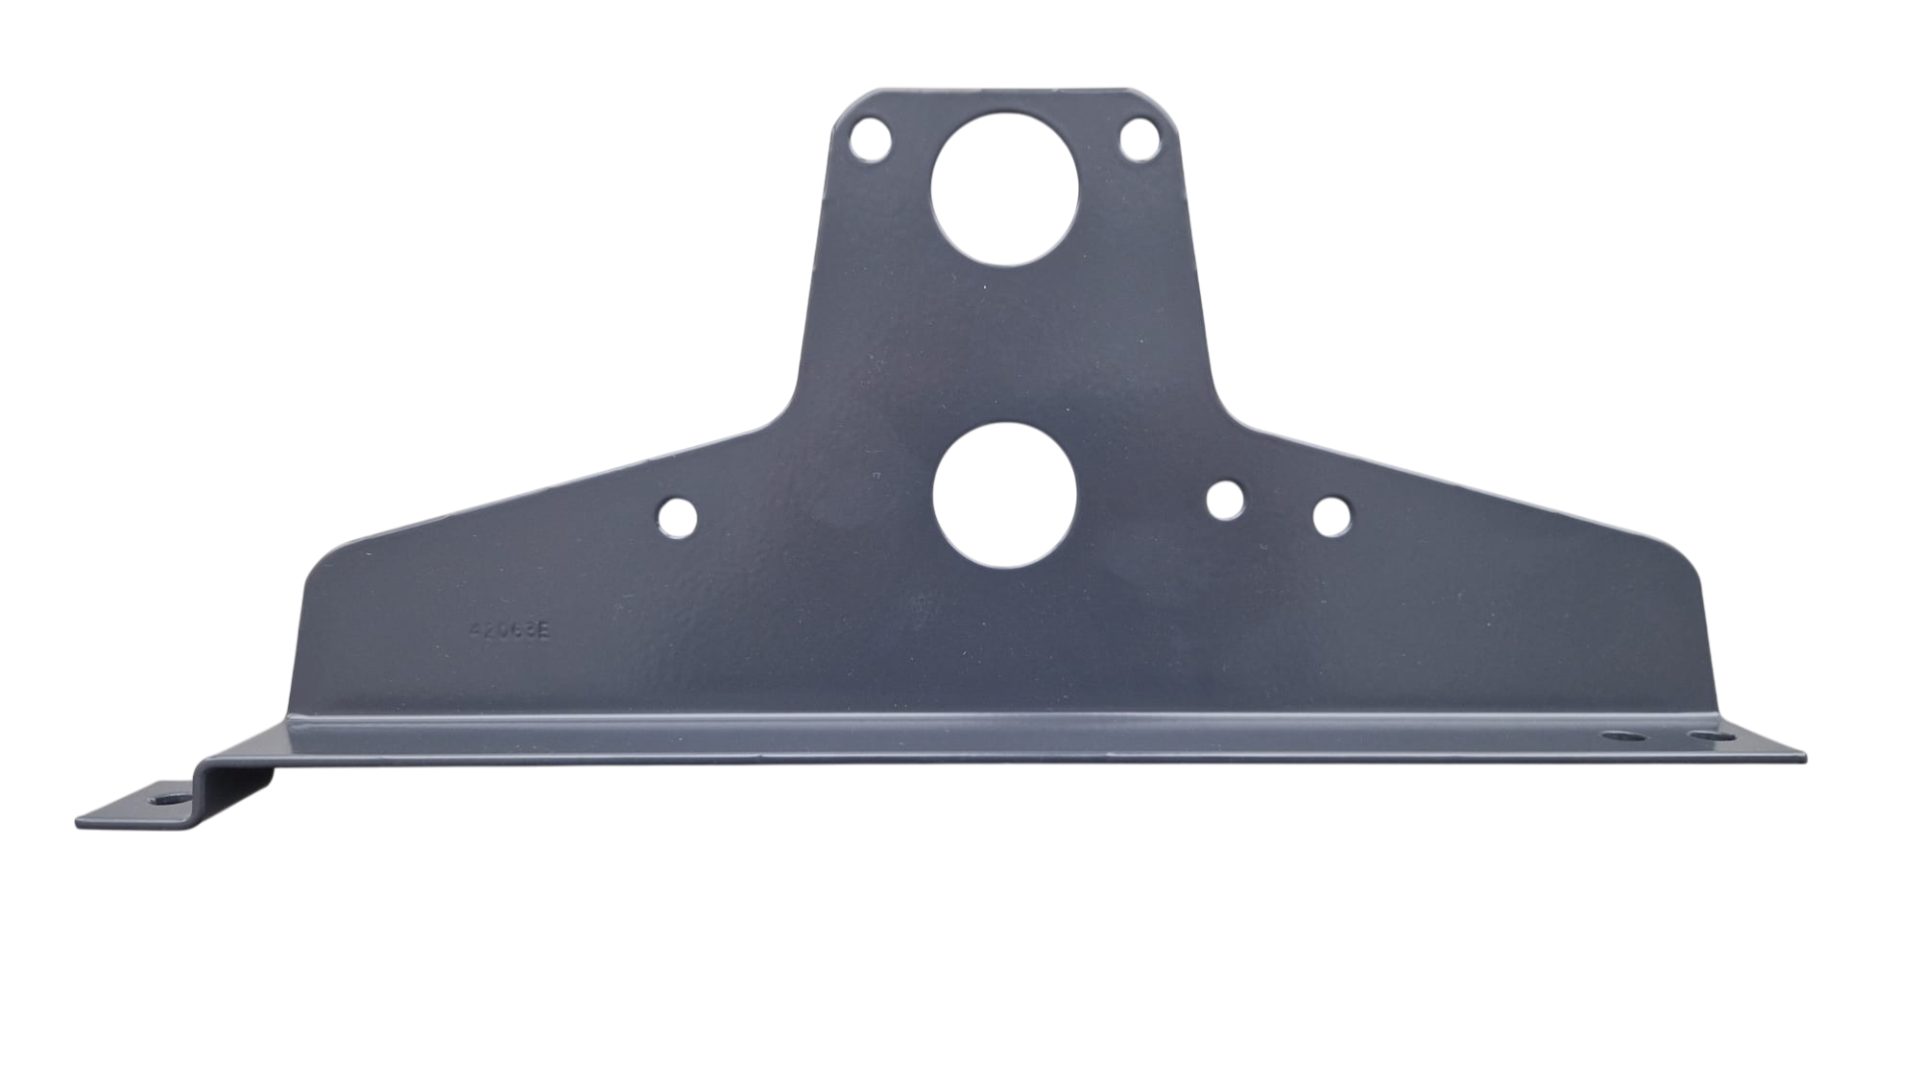
2. Special seals for snow guard brackets
For extra protection, special seals for snow guard brackets can be used.
The seals prevent direct contact between the metal bracket and the roofing, protecting the roof from scratches and coating damage.
They also give a tighter and more stable fixing point where the screws go in.
The seals are specially designed for this purpose and are placed in the bracket holes as needed.
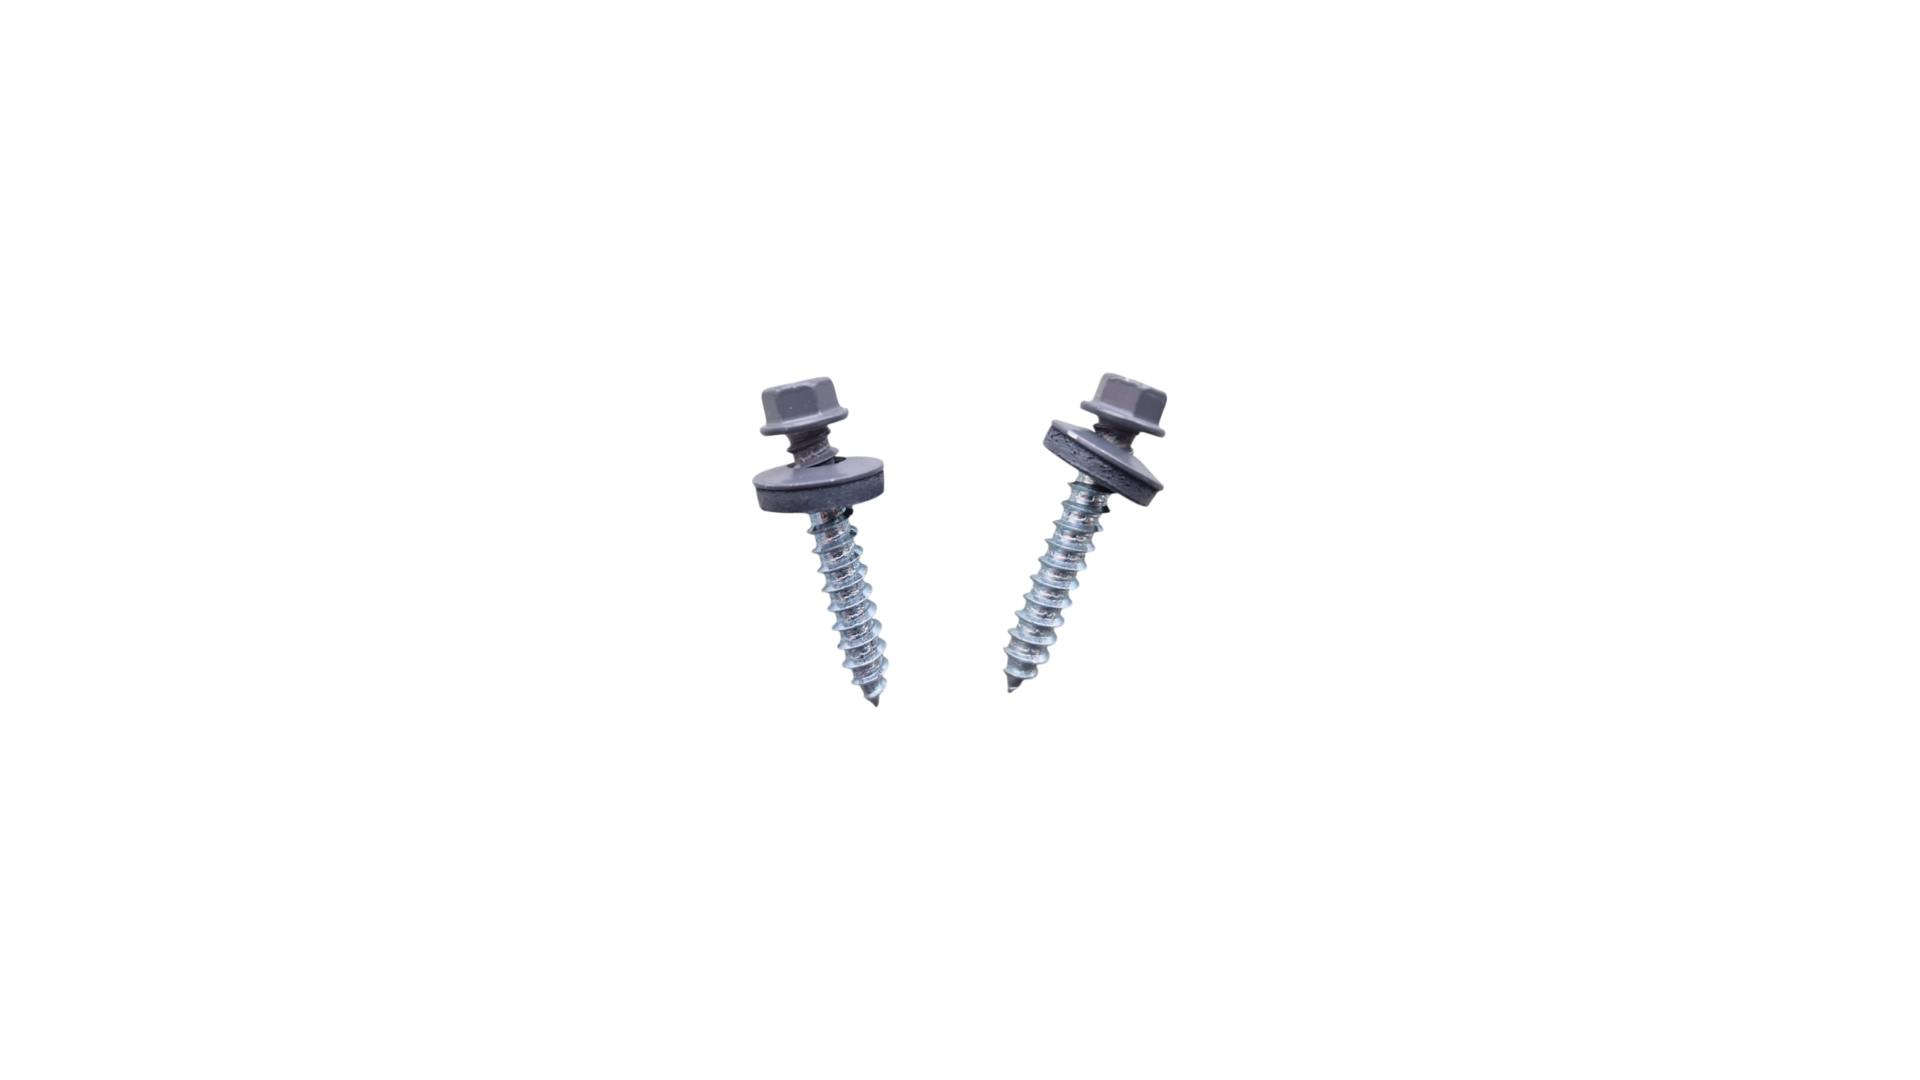
3. Snow guard screws 6.5 x 38 mm
The snow guard bracket is screwed to the tile profile roofing with special 6.5 x 38 mm screws with rubber sealing washers.
Two screws are used for each bracket, giving a stable and secure fixing.
The rubber washer gives a sealed joint, preventing water from getting in at the fixing point.
The screws are corrosion-resistant and designed for long-term outdoor use.
4. Finished snow guard bracket on a tile profile roof
Once the bracket has been screwed to the roofing, the system is ready for the snow guard.
The snow guard tubes can be inserted into the bracket, giving stable and safe control of the snow mass.
We recommend 4 brackets per snow guard section (3000 mm) to spread the load evenly.
When joining two snow guard sections (6000 mm), 7 brackets are recommended to keep the system stable.
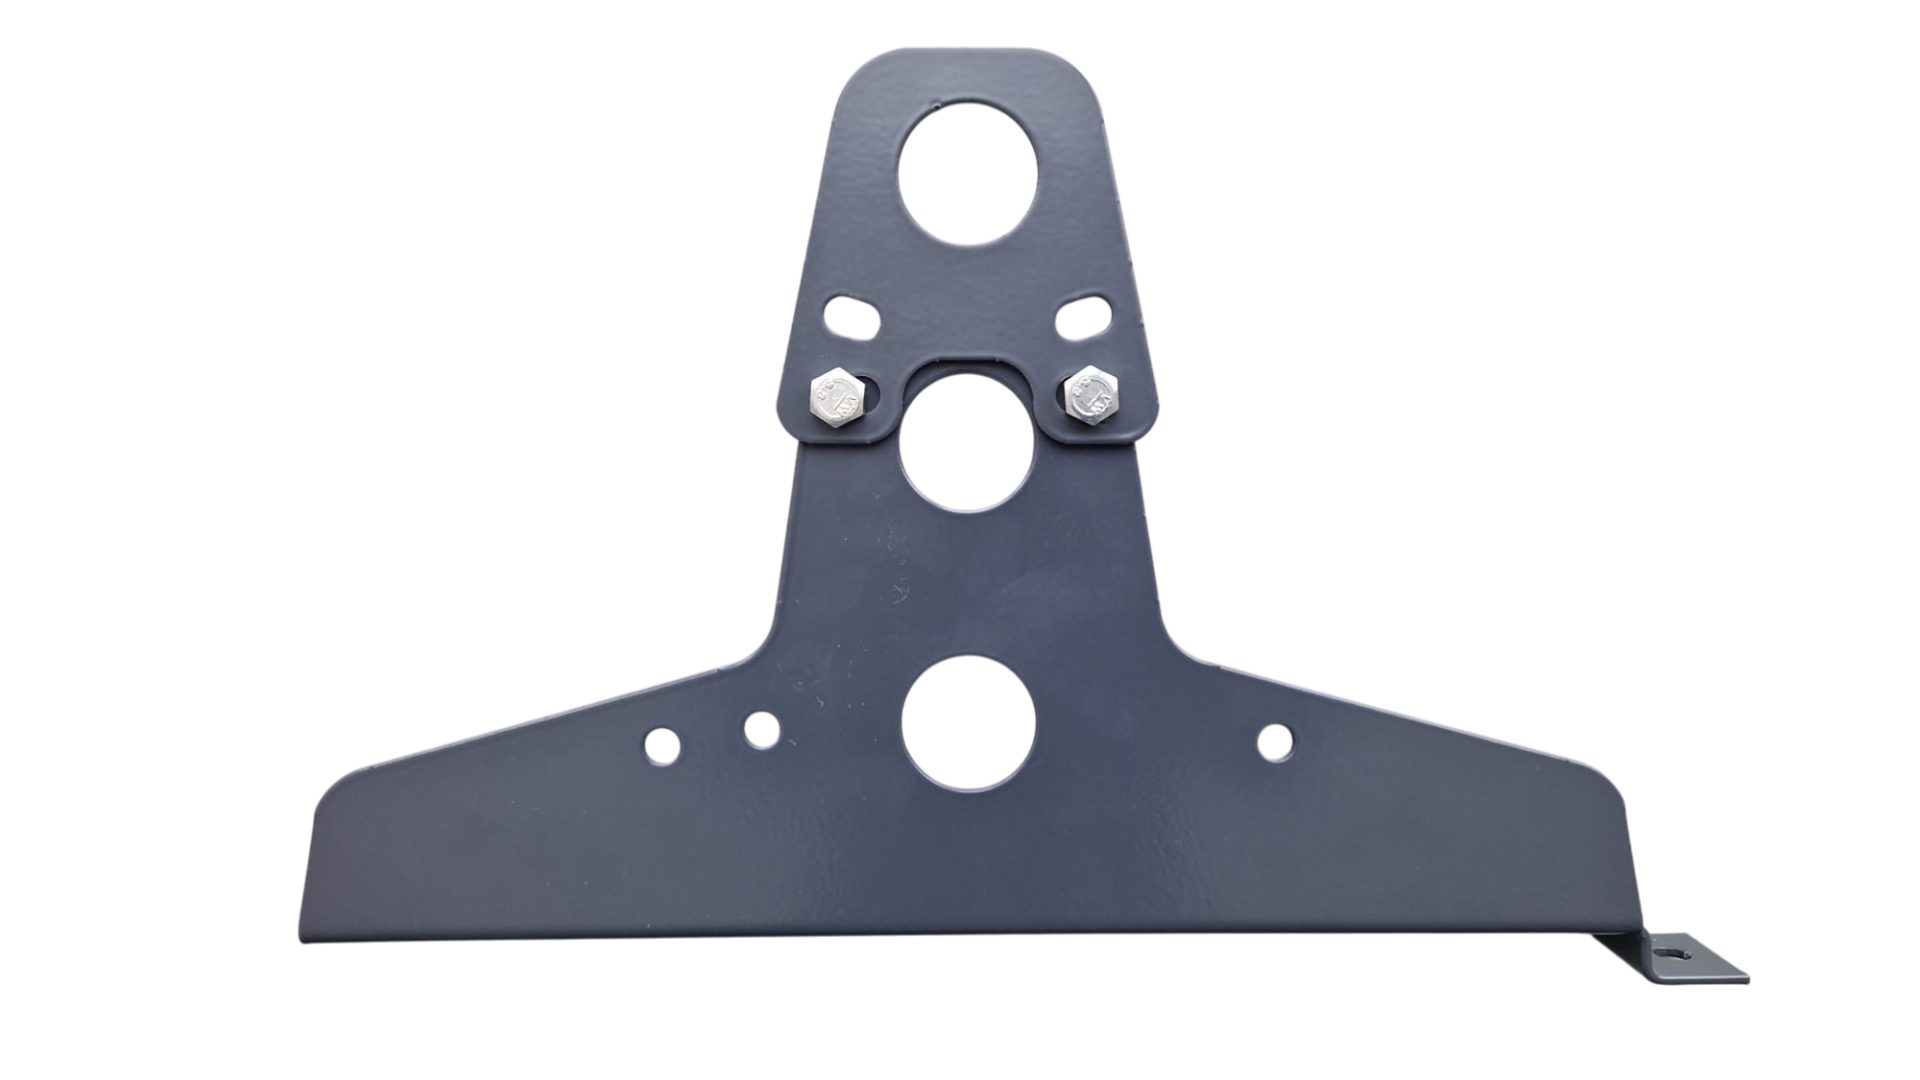
5. Bracket extension for an extra snow guard
The bracket extension lets you install an extra row of snow guards, making the system more effective and safer.
This is especially recommended for steeper roofs or places with higher snow loads.
The extension makes it possible to place snow guards at different heights, controlling the movement of snow more effectively.
This solution is also especially useful when solar panels are installed on the roof, because more snow can build up in such cases.
With the extension, the snow guard can be installed in a higher position, making the system more effective without a more complex installation.
Need help choosing snow guards?
See snow guards for other types of roof:

