


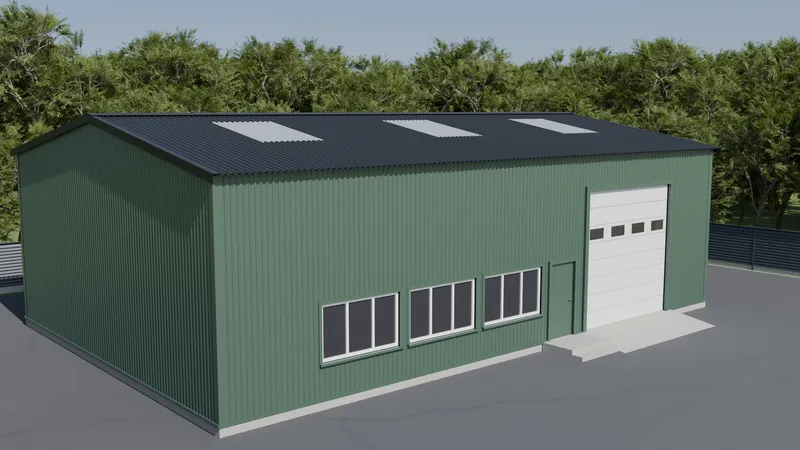
The trapezoidal profile TP15 is a slim and elegant wall cladding material with a low profile height – 13 mm. Thanks to this minimalist profile, TP15 gives the facade a clean, discreet look. The profile comes in three versions: TP15 A and TP15 B – classic trapezoidal profiles, and TP15 V – with an extra decorative fold in the middle of the panel for visual variety.
Technical specifications of the trapezoidal profile TP15

| Use | Wall cladding (A, B, V versions) |
| Material thickness | 0,45–0,70 mm |
| Profile height | 13 mm |
| Cover width | 1134 mm |
| Coatings | Galvanised, Polyester, Matt Pol, Pural BT, Pural BT Matt, PVDF |
| Minimum / maximum profile length | 500–5800 mm |
TP15 profile versions
| Version | Description |
|---|---|
| TP15 A | Classic trapezoidal profile version for wall cladding |
| TP15 B | Alternative classic version with a slightly different trapezoid configuration |
| TP15 V | Profile with an extra decorative fold in the middle of the panel – gives the facade visual depth and variety |
General information
TP15 is the thinnest and lowest profile in the TP series – its 13 mm height gives a minimalist wall look that suits both modern and classic architecture. The profile is suitable for wall cladding only – it can be installed horizontally or vertically. It is not used for roofs.
The steel sheets (0.45-0.70 mm) are lighter and easier to install than thicker profiles, but they must also be transported and stored more carefully – a thin sheet bends more easily. Always lift the panels rather than dragging them, and never hold them by the two ends only – they should also be supported in the middle.
The TP15 V version has an extra decorative fold in the middle of the panel, which creates a visual effect on the wall – as if each panel were half as wide. This allows a more varied facade rhythm without changing the installation principle.

